


Installing a barrel requires a few specialized tools, but is not a difficult process. I have put together an easy to use visual guide to assist you with the installation of your barrel. If you like what you see, be sure to visit the blog!
AR15 Upper Receiver Tool List:
Torque Wrench with Barrel Nut Wrench Combo
33MS Grease to Prevent Steel on Aluminum galling
Bev Block (ideal) or Clamshell Receiver Clamp (as used below)
Tool Vice
Let’s get started!
This guide is for visual reference only. An AR15 barrel assembly should be installed by a qualified gunsmith to ensure no damage to rifle components occurs. If you are a novice and unsure as to how to proceed, please take your components to a gunsmith for installation and test fire.
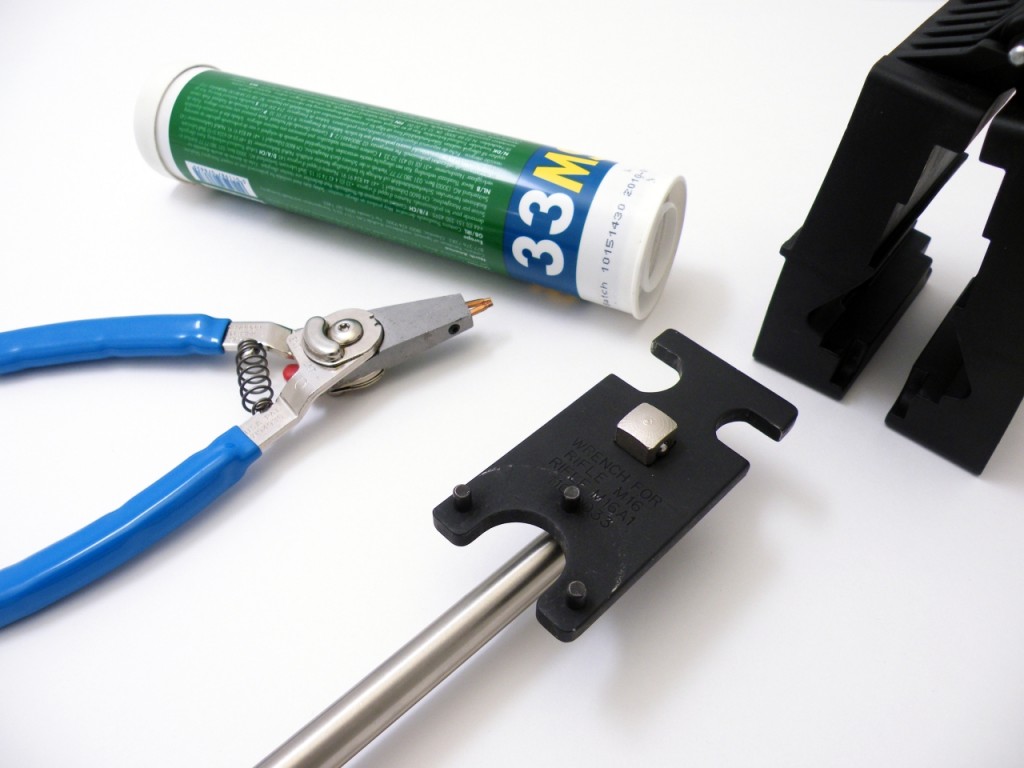
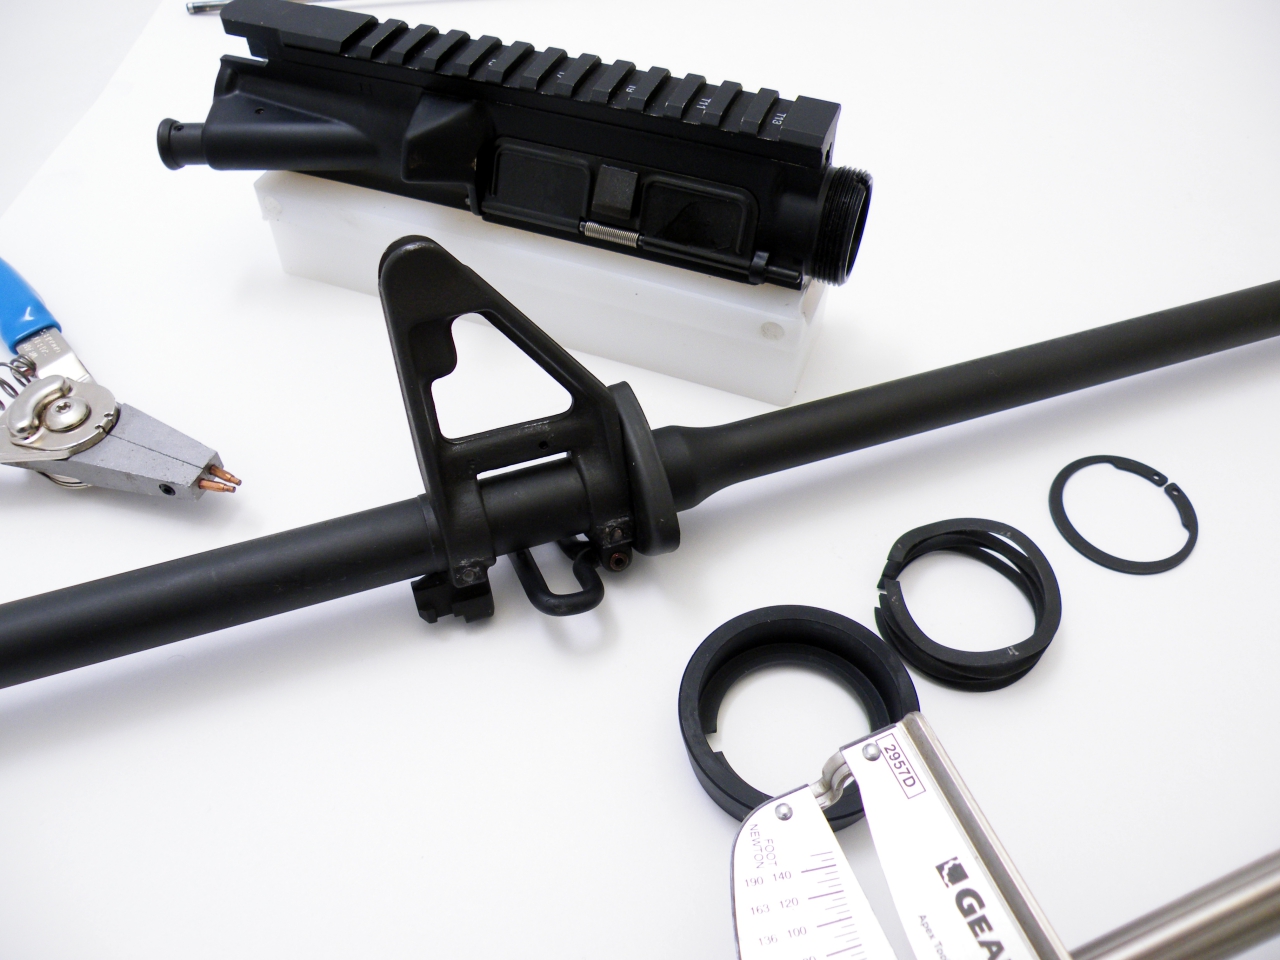
Gathering the appropriate tools: Snap Ring Pliers (in blue), Armorers Wrench and Torque Wrench, Aeroshell 33 MS grease, and Receiver Clamp
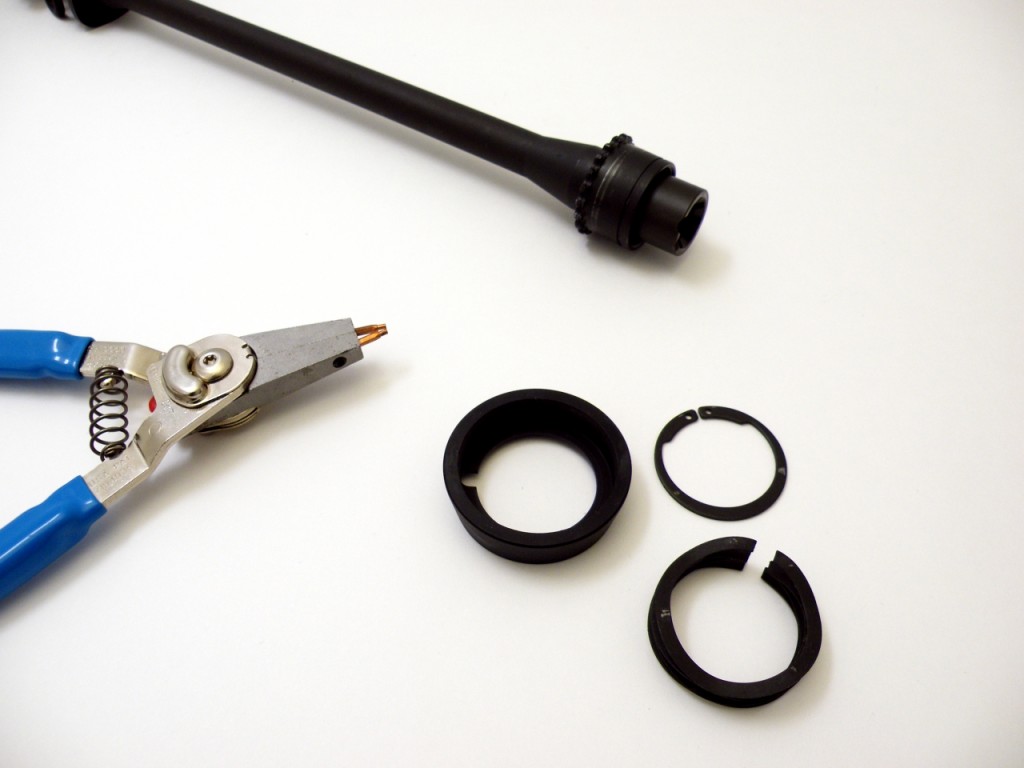
Our first step is to attach the delta ring, weld spring, and snap ring to the barrel nut.
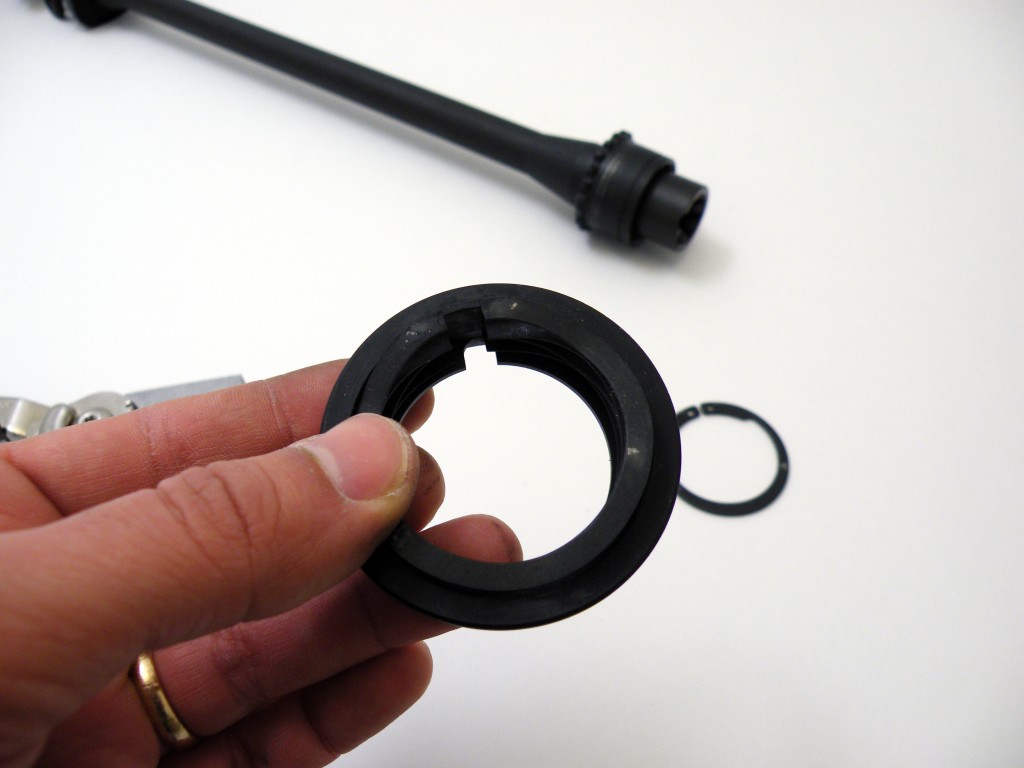
Place the weld spring inside the delta ring and align the gaps.
Place the delta ring and weld spring on to the barrel nut as shown. The wide end of the delta ring with the weld spring faces outward.

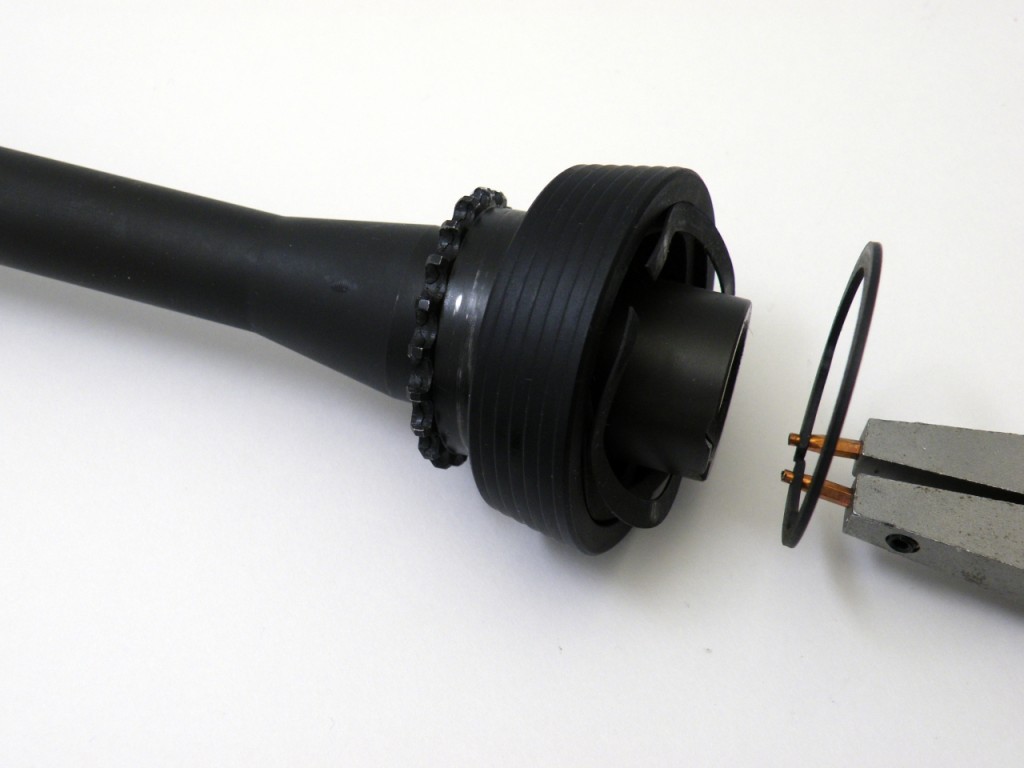
In place and ready for the snap ring. The snap ring will clip into a small groove on the barrel nut.
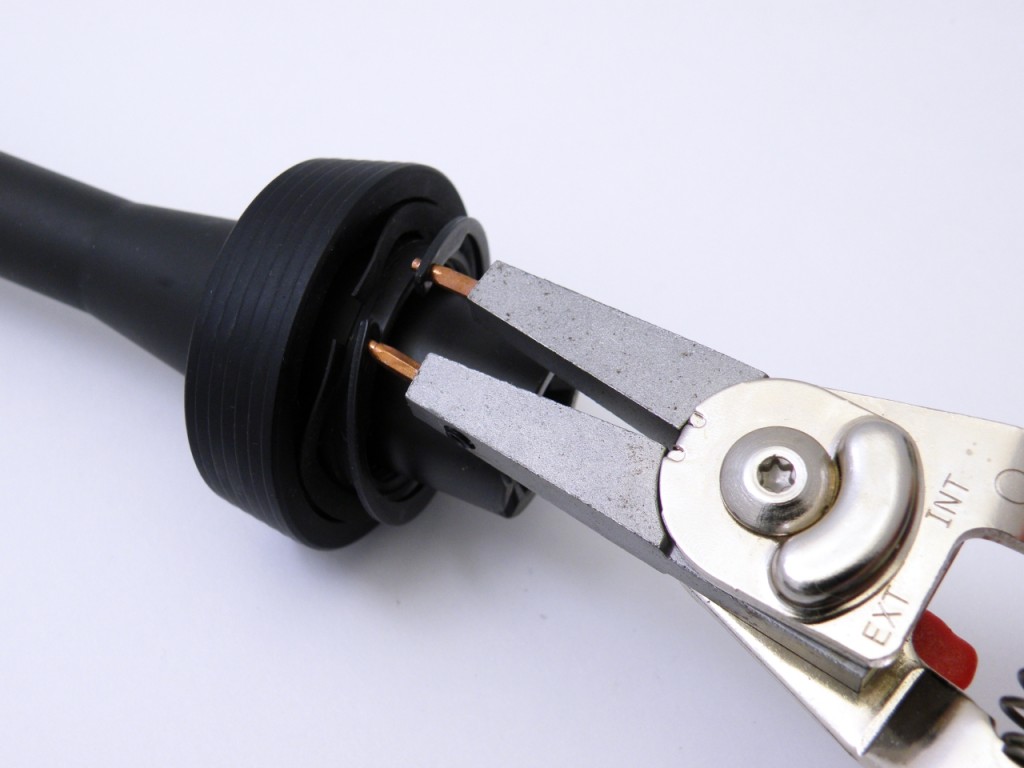
A good snap ring pliers are a necessary tool for barrel installation.

Delta ring, weld spring, and snap ring all attached to the barrel nut.
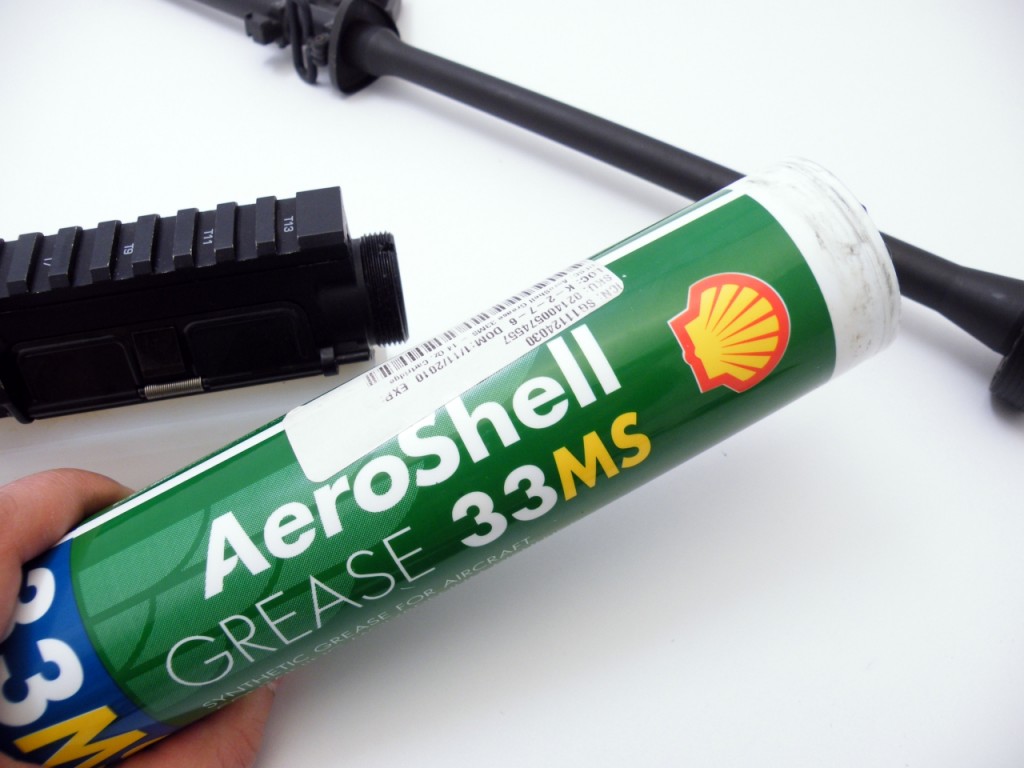
AeroShell 33MS is a grease designed for aircraft and is specified in the technical manual for the M16 series of weapons. Without the proper grease, your upper and barrel could eventually suffer from galvanic corrosion.
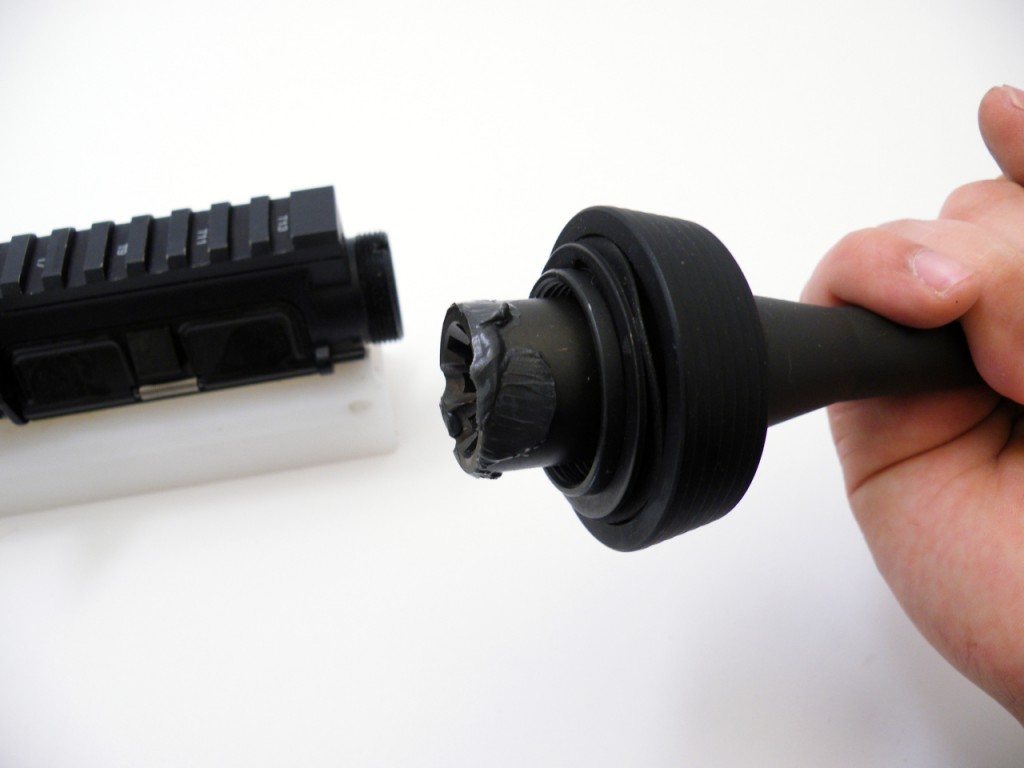
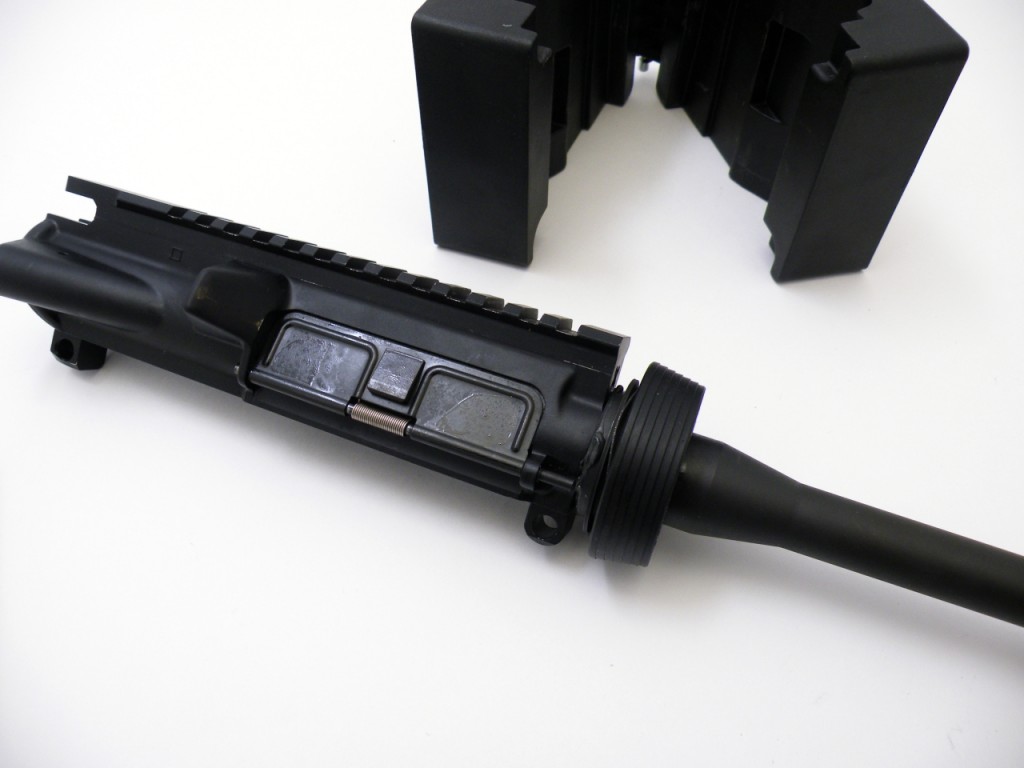
Grease the barrel extension before installing it into the receiver.
Align the index pin with the recess in the upper receiver.

Push the barrel and upper together so the index pin fits in the slot. It is OK to use a rubber mallet to install the barrel to the upper if things are too tight.
Apply more grease to the threads of the upper receiver.
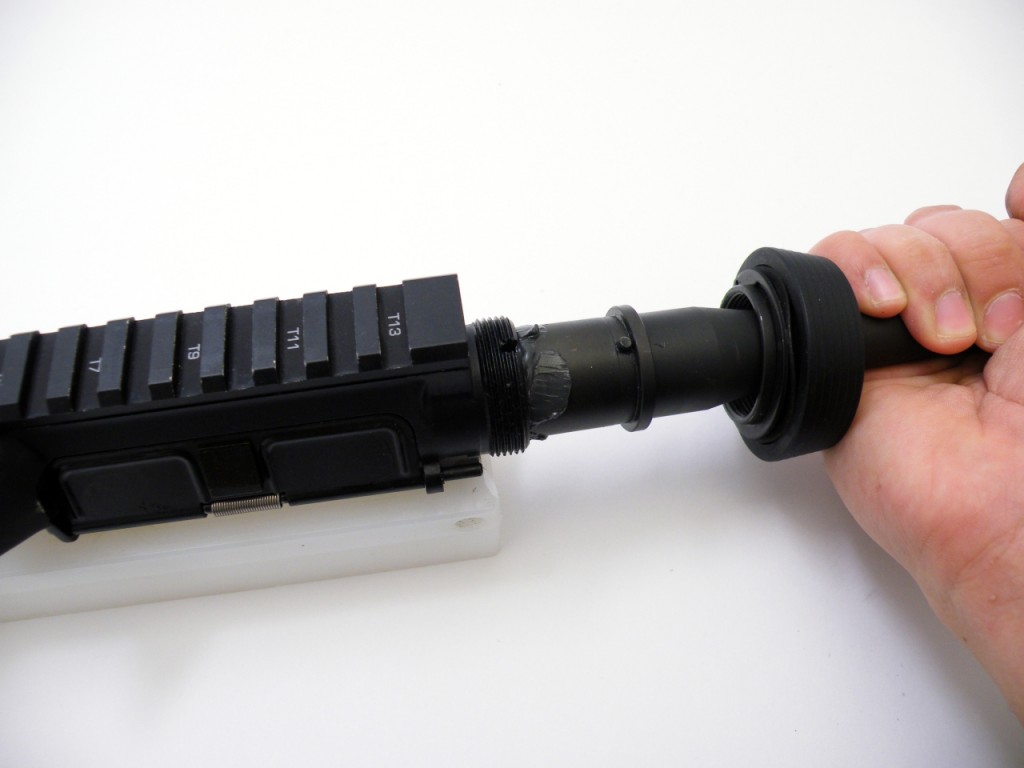
Begin to hand thread the barrel nut assembly on to the upper.
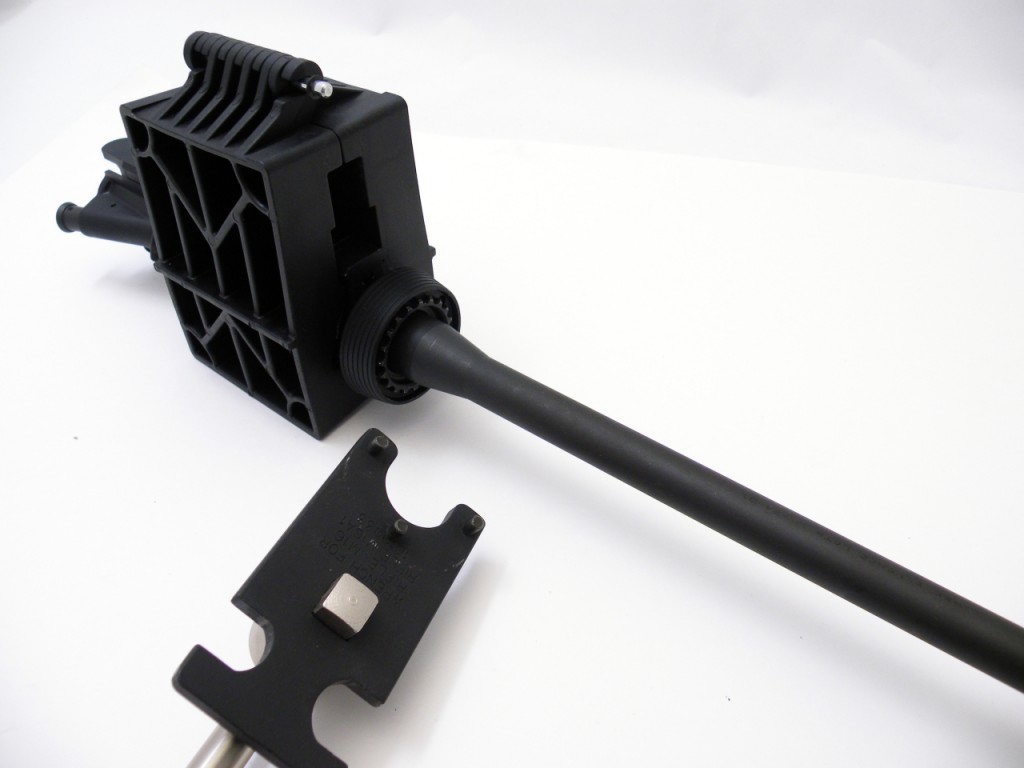
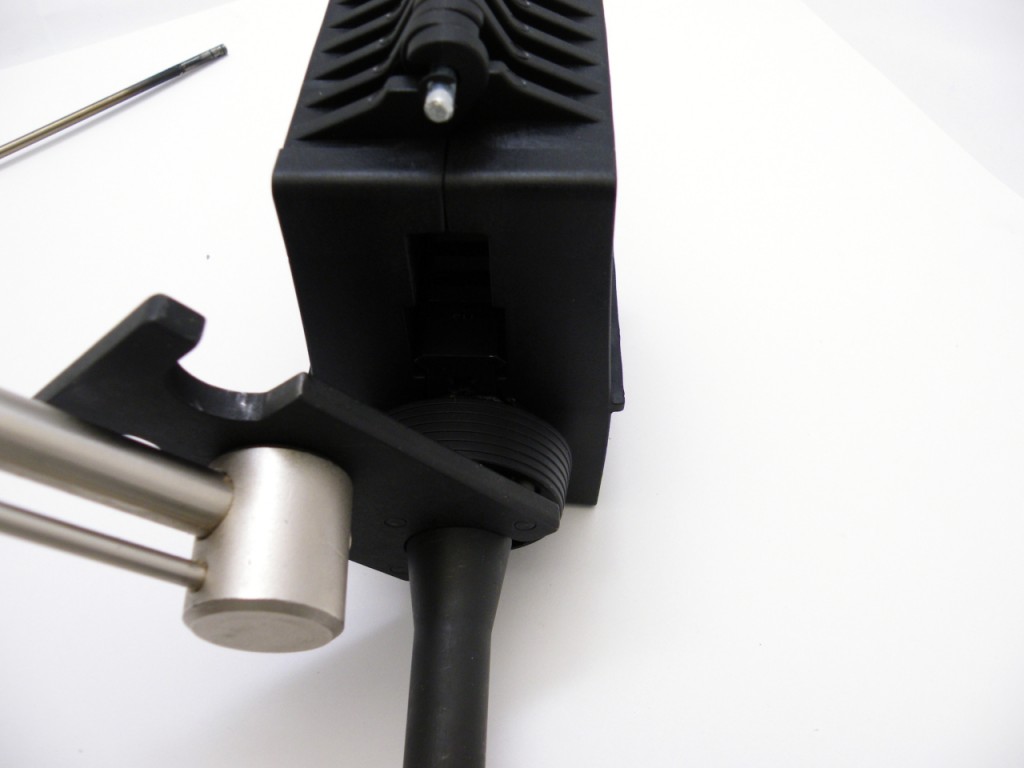
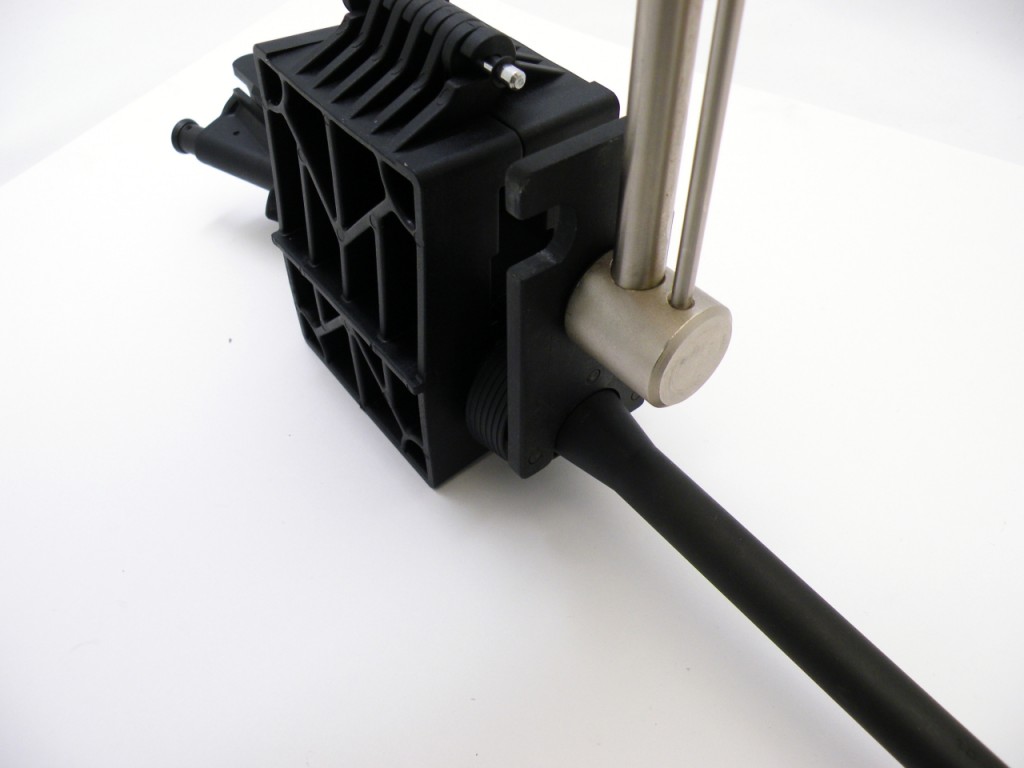
We are now ready to utilize the receiver clamp. I recommend this style of the clamp from Wheeler Engineering as it is low cost and gets the job done.

From here we will proceed to the bench vice. Grab your torque wrench and armorers tool and head to the bench!
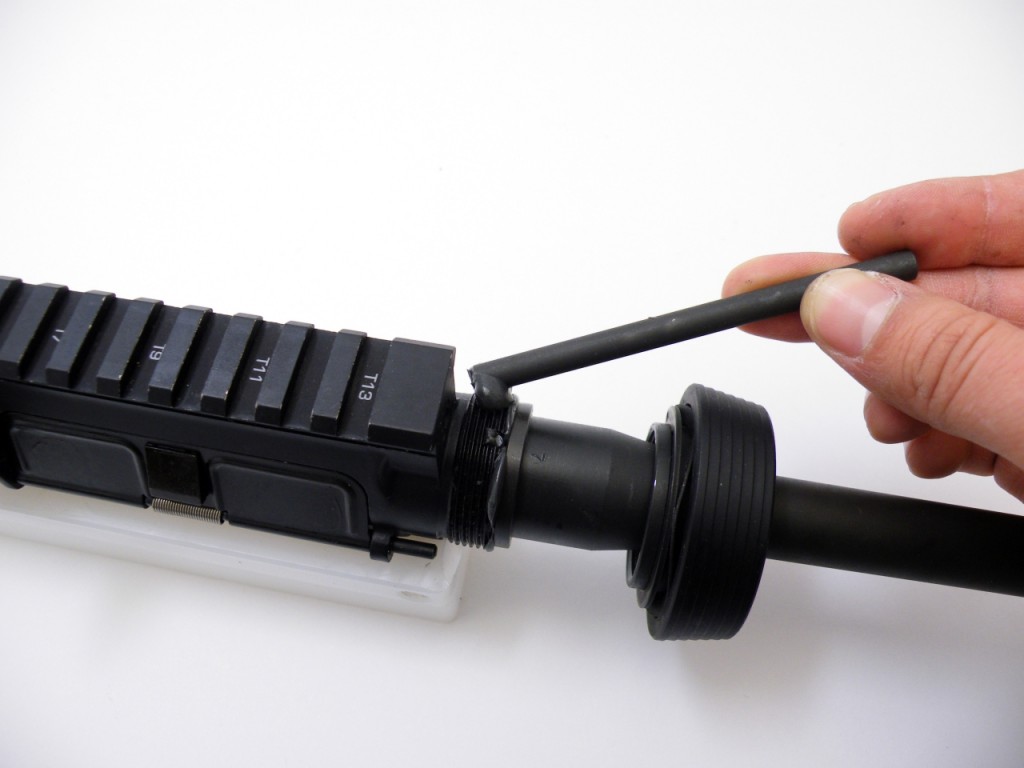
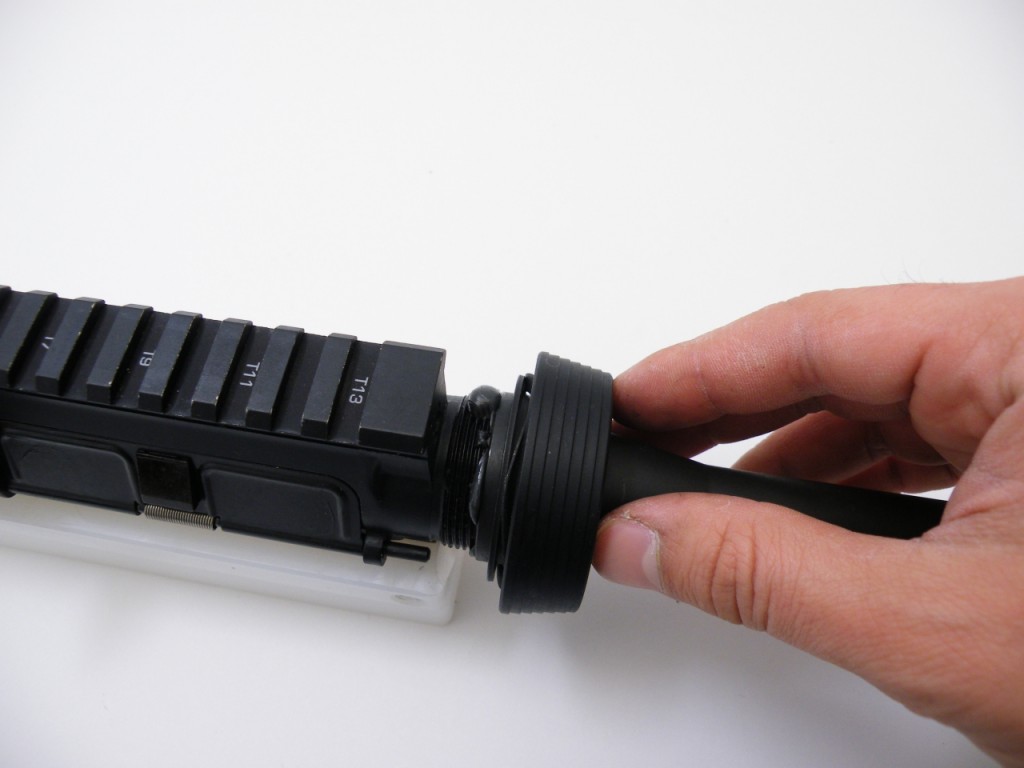
As described in the video, you will need to tighten and loosen 3 times to seat the threads. The goal is to align the space between the teeth at 12 o’clock.
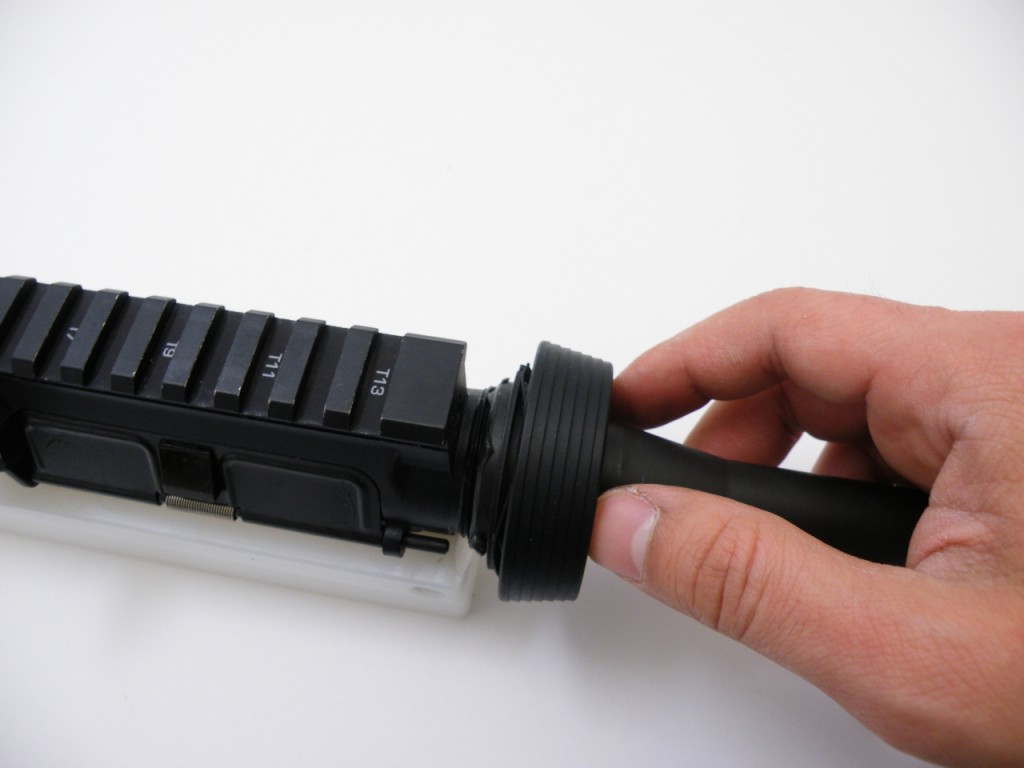
Torque from a minimum of 30 ft-lbs to a maximum of 80 ft-lbs. Your goal, again, is to align a gap between the teeth to 12 o clock of the upper to permit the gas tube to slide through. Once torqued, the gap in the delta ring, weld spring, and C clamp will need to be positioned to 12 o’clock as well.

This .gif better visualizes what needs to be done: use a tool to align the gaps in the delta ring, weld spring, and C clamp in the 12 o clock position.
What if the gap doesn’t line up!?
So you’re close to 80 ft-lbs and the next tooth just won’t line up. Ok, calm down and back off the barrel nut. The easiest and safest method is to order a barrel nut shim. These are thin shims that will be installed in the barrel nut to help align the next gap/tooth. Follow the instructions included with the kit and it should fix any alignment issues.
Option two is to order a barrel lapping tool. These tools square the face of the receiver by using a lapping compound to take off a small amount of material from the receiver. This is a good tool for more advanced users, but overkill for most shooters. It will remove enough material to allow the gap to rotate in the right position as long as you didn’t overdo it. Let’s install that gas tube next:
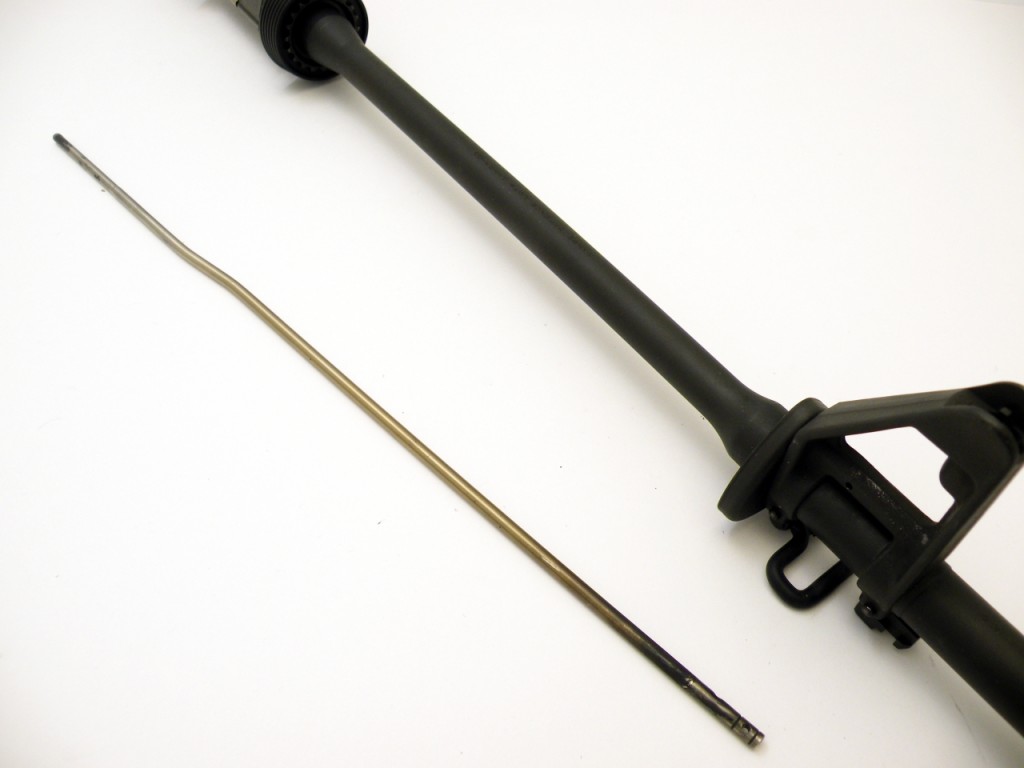
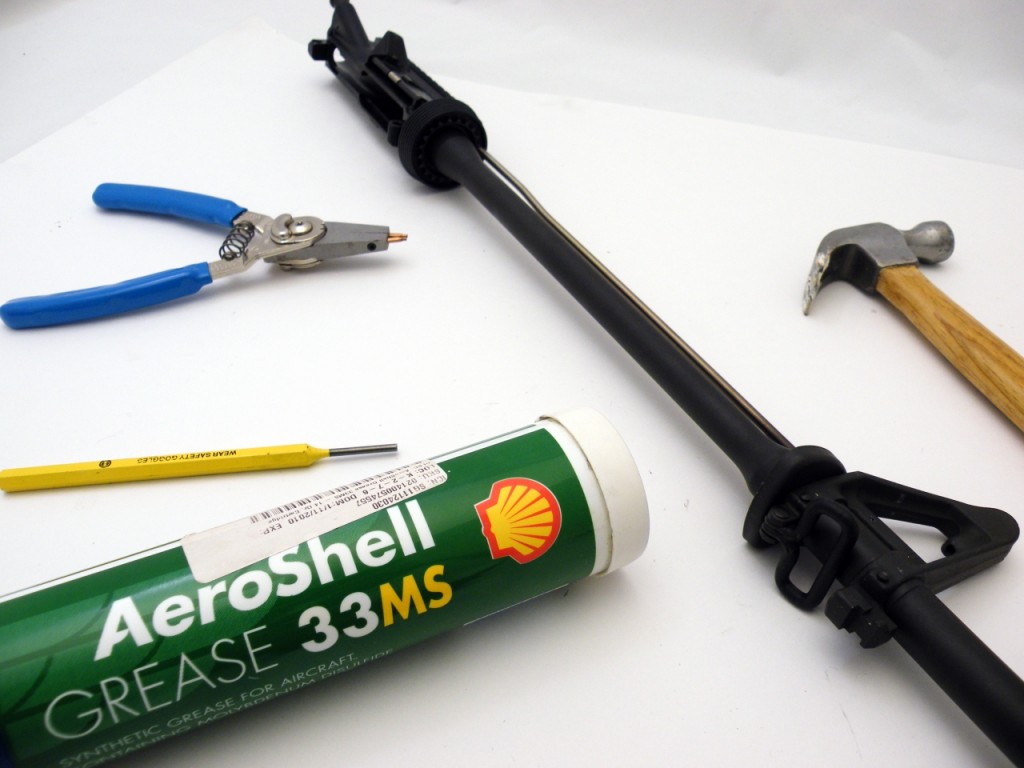
Time to install the gas tube. Gather your gas tube, gas tube roll pin, punch, and hammer.

Slide the gas tube into the upper receiver. Here you can see why the barrel nut does not come loose; the gas tube prevents the barrel nut from spinning by sliding between the teeth.
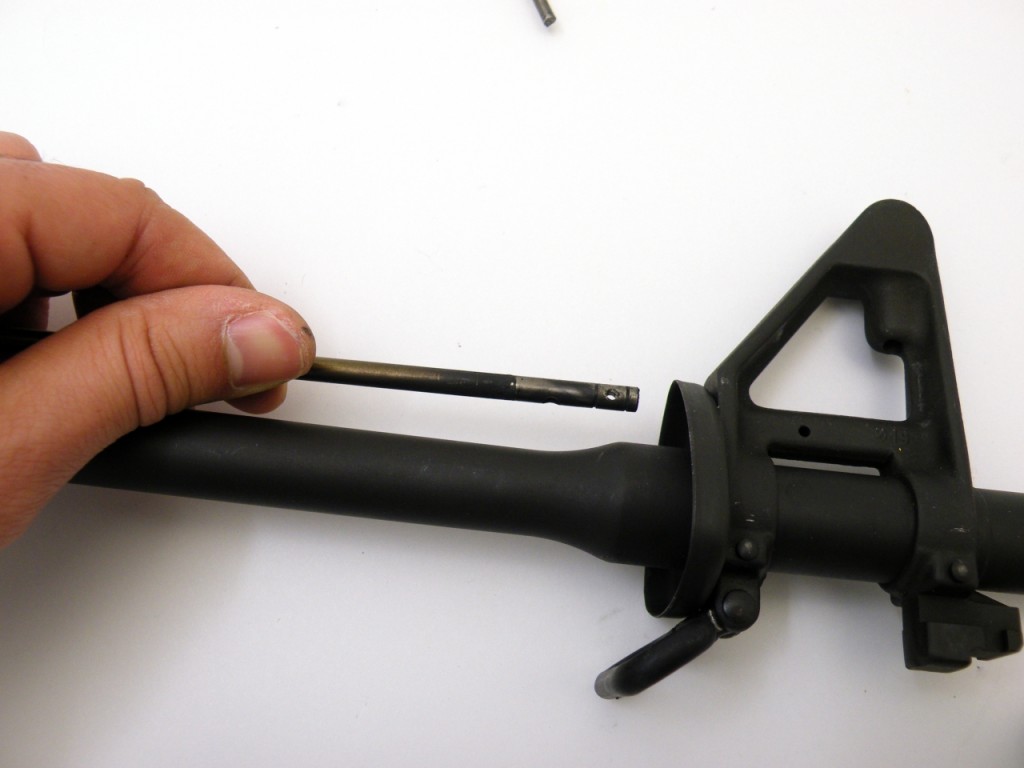
Push the front of the gas tube into the front sight base. There will be two holes on the end that goes here: one hole for the gas, another for the roll pin.
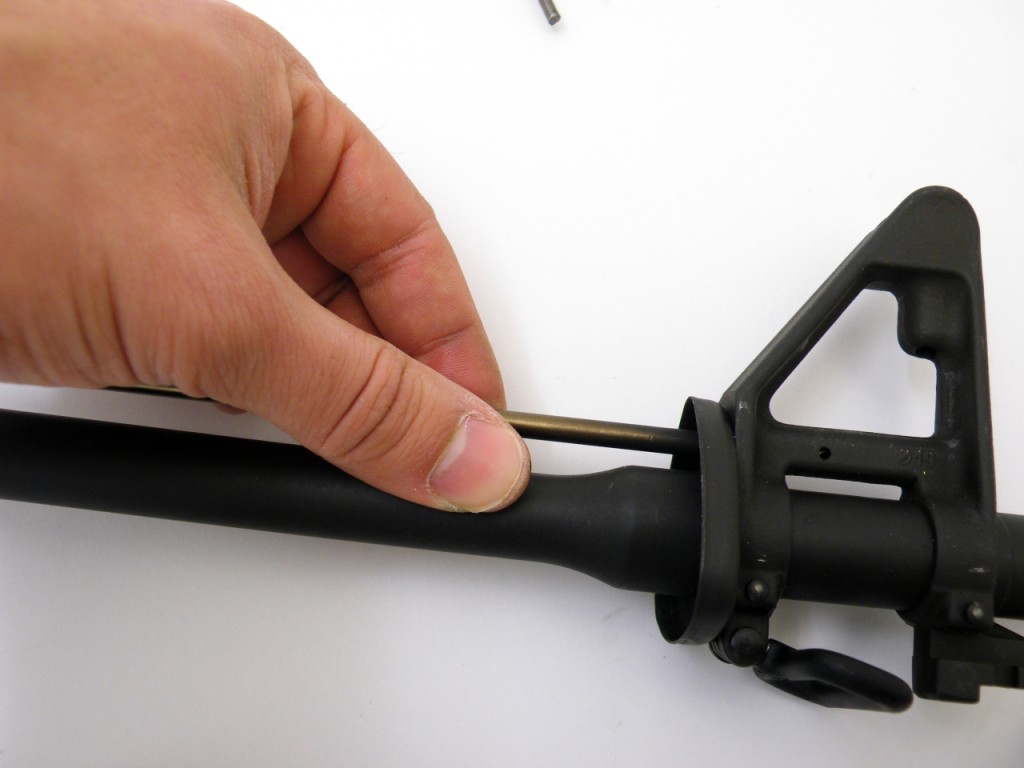
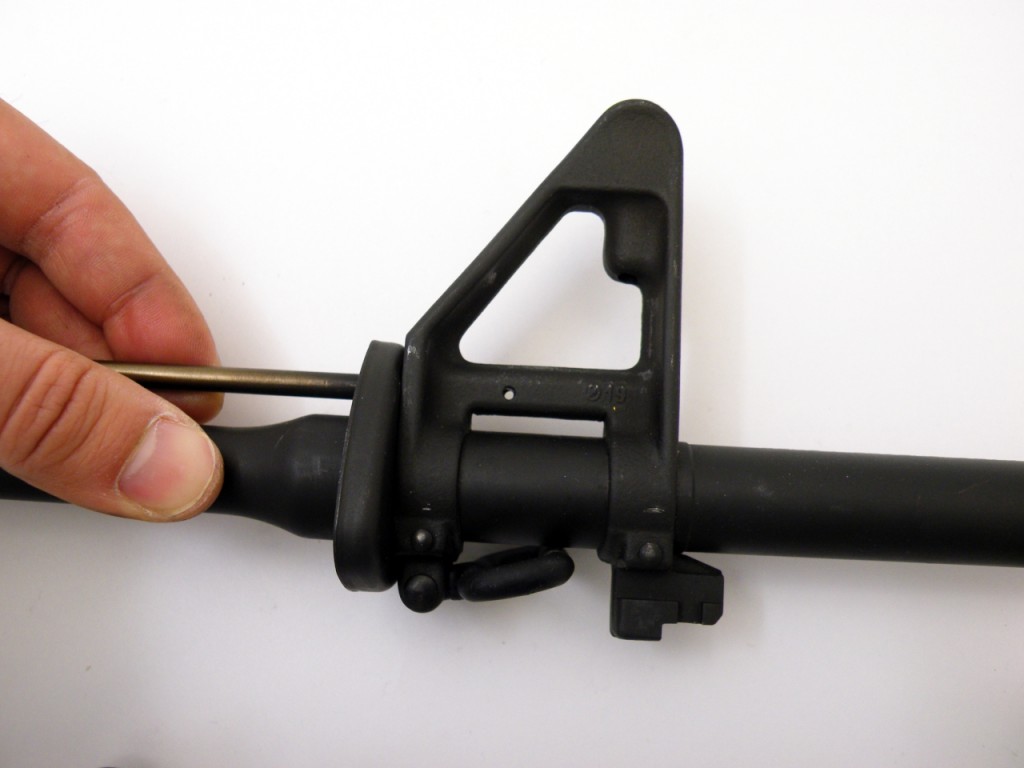
Slide the gas tube into position and align the holes.
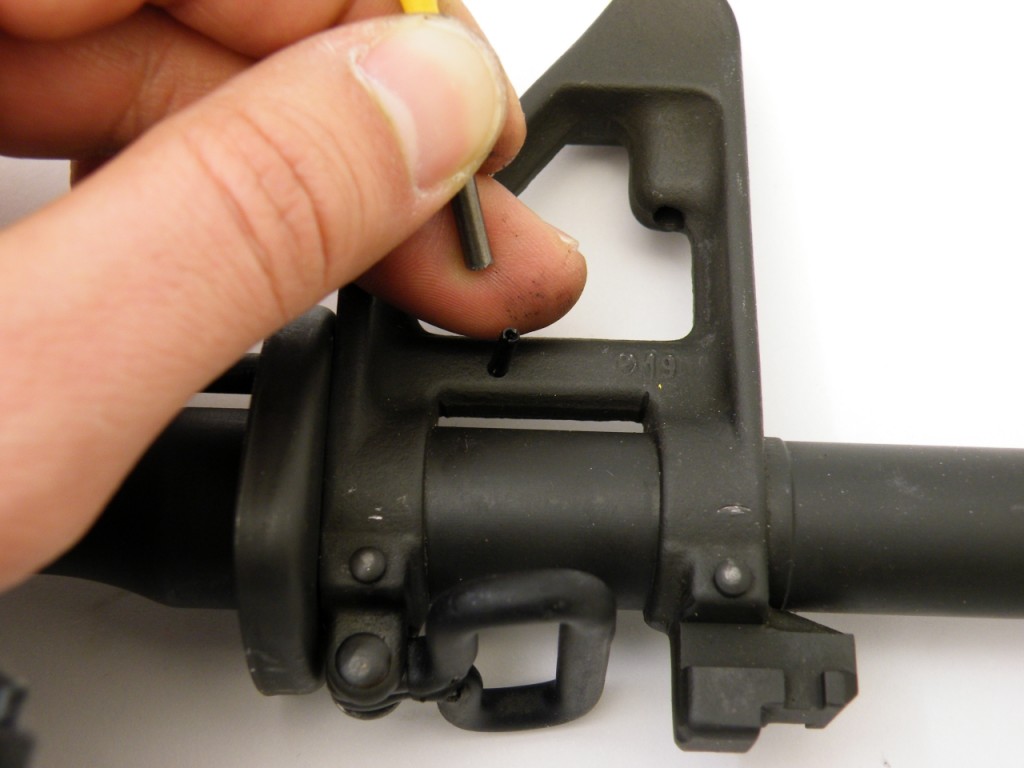
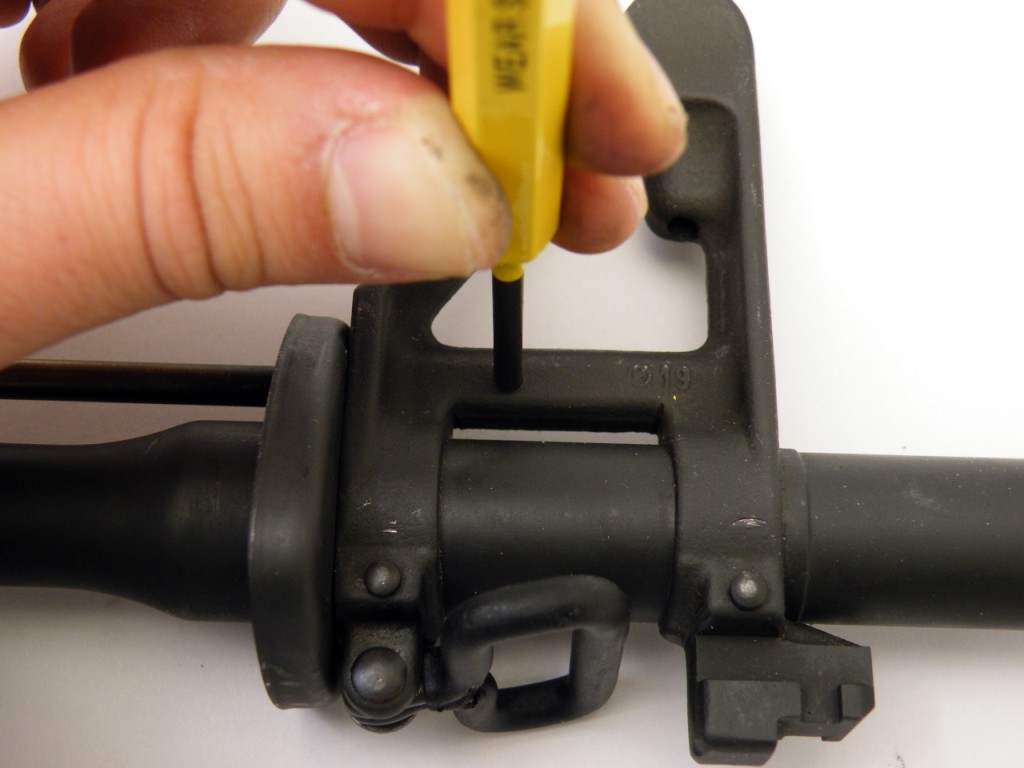
Now you are ready to install the roll pin. Any punch will do since we are driving this pin to be flush with the FSB.

It doesn’t take much: let the weight of the hammer falling drive the pin.
Your barrel is installed! If you need to install the hand-guards, have a friend pull down the delta ring while you snap the hand-guards into place. Be sure to have head-space checked by a professional gunsmith before firing.
If that seems a little out of your league, I recommend ADCO FIREARMS for AR15 upper receiver building and gunsmithing services if you need it done right. -Lothaen Out!